Pipenest — Production Management
Pipenest Manual
From importing your screenplay from Scriptnest and cuts from Boardnest, to estimating man-hours per step, building a schedule, and creating work folders. Follow the whole production-management workflow on real screens.
1Creating a New Production
Production management in Pipenest starts with creating a “production.” Each production links a Scriptnest screenplay and Boardnest cuts, bringing steps, schedule, and work folders together in one place.
Creating a Production
Create a new production#
From the “+ New Production” button on the production list, choose a name, a process template (3DCG / Live Action / 2D Animation), and the Scriptnest and Boardnest projects to link.

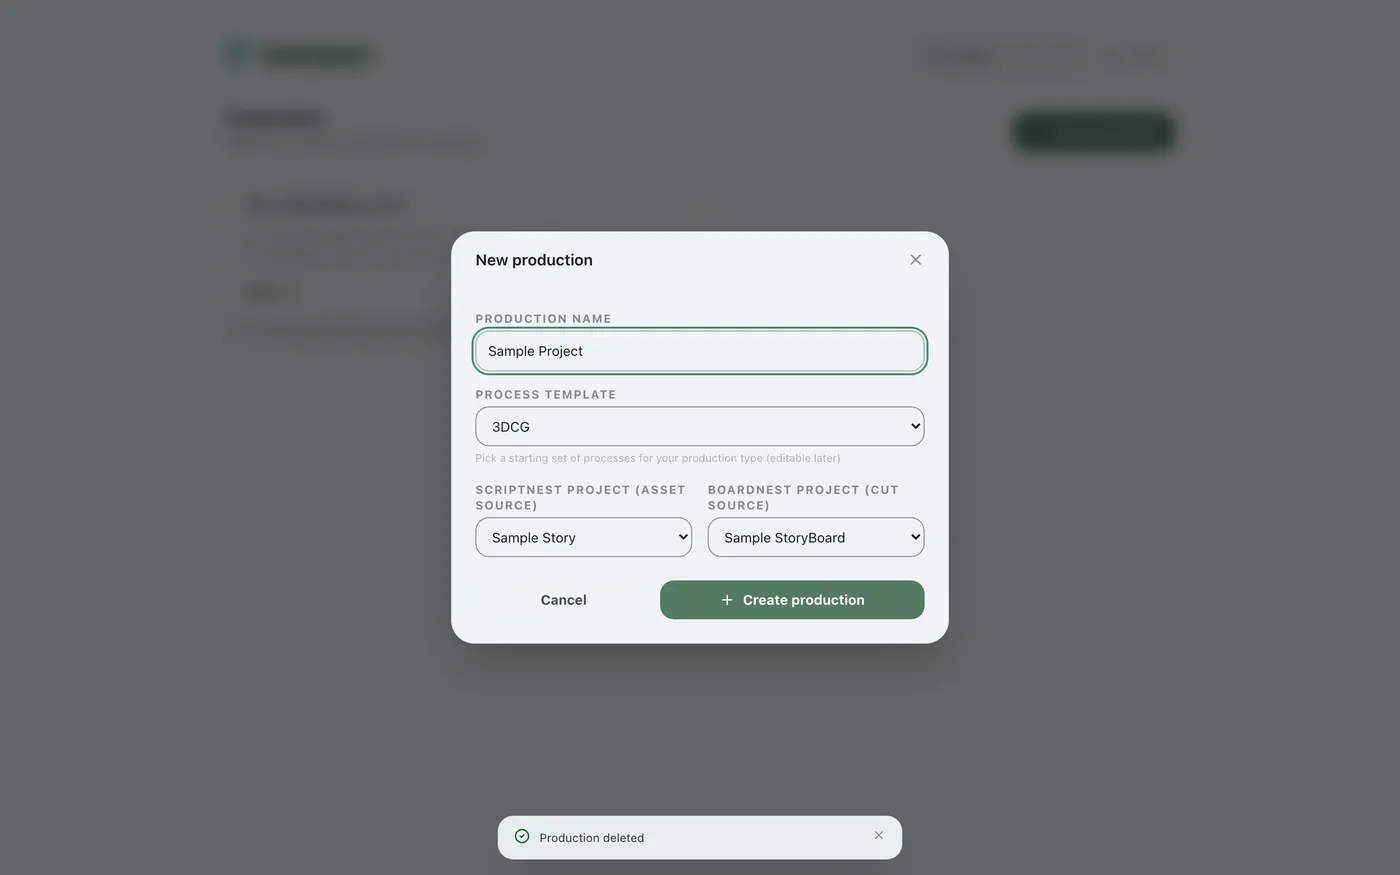

Opening a production#
Click “Open” on the created production's card to enter its management screen.
Getting an overview
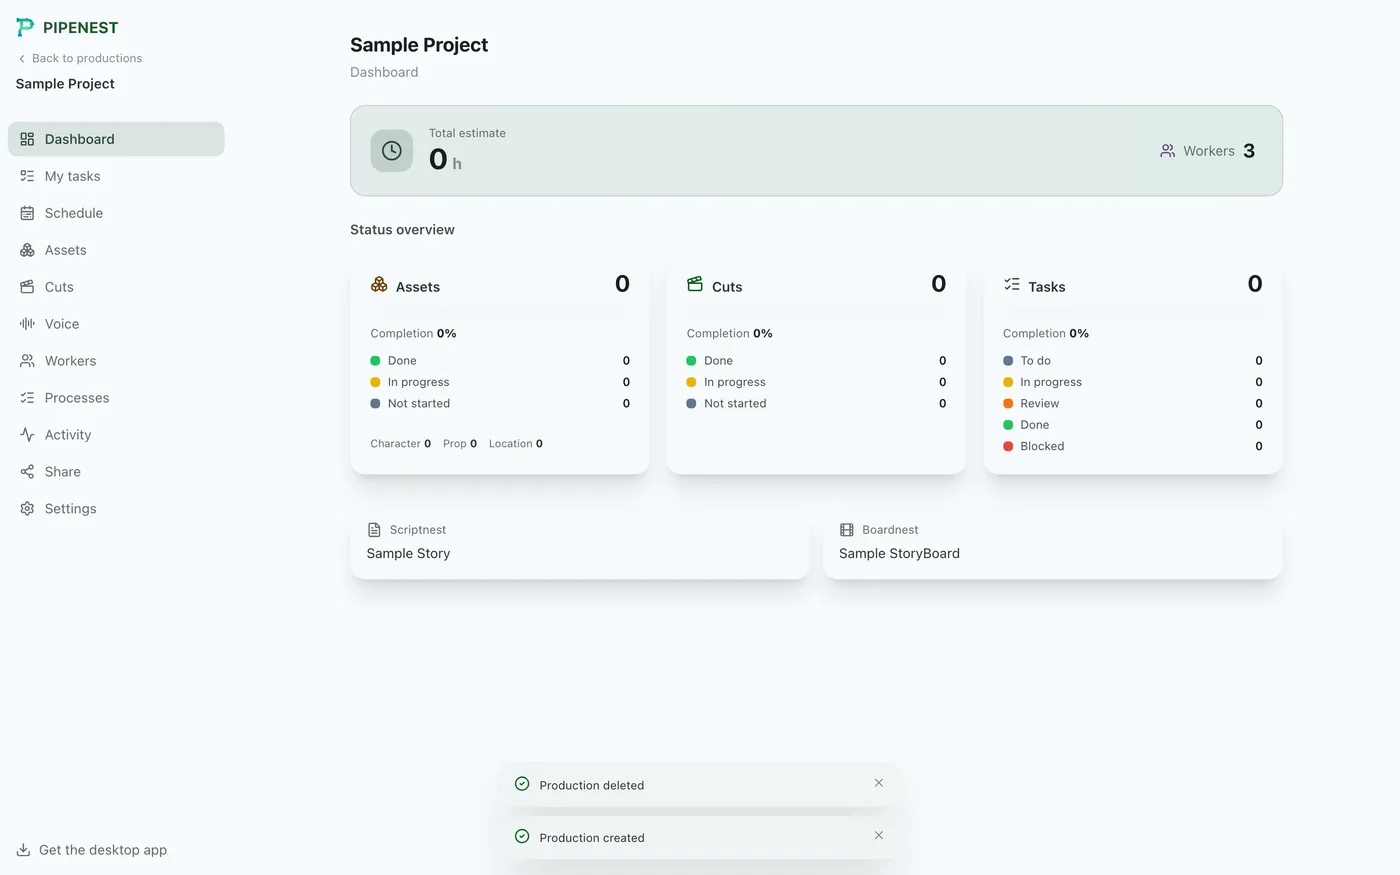
Viewing the summary on the dashboard#
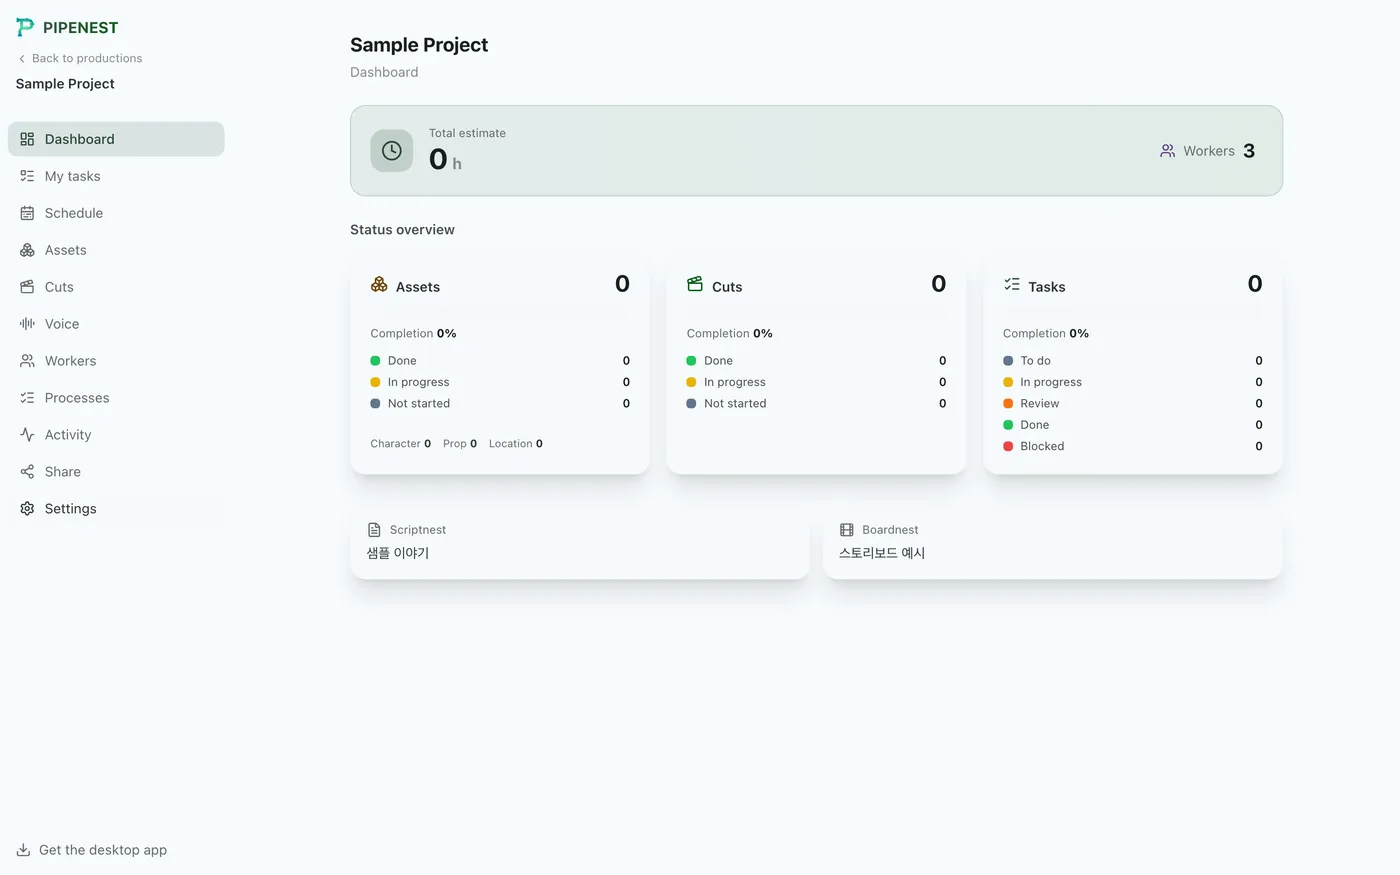
Opening a production first shows its dashboard: total estimated hours, number of workers, progress on assets/cuts/tasks, and the linked Scriptnest/Boardnest projects, all at a glance.
2Installing the Desktop App
Pipenest works as a web app, but local-PC operations (creating work folders, rendering, and more) require the desktop app. You can get it anytime from the bottom of the production sidebar.
Downloading the app#
Click “Get the desktop app” at the bottom left of the sidebar to download the installer for your PC.

Installing and launching it#
Install it on your PC with the downloaded installer. You'll see the same screens as the web app, but local-PC operations (folder creation, rendering, and more) run through this desktop app.
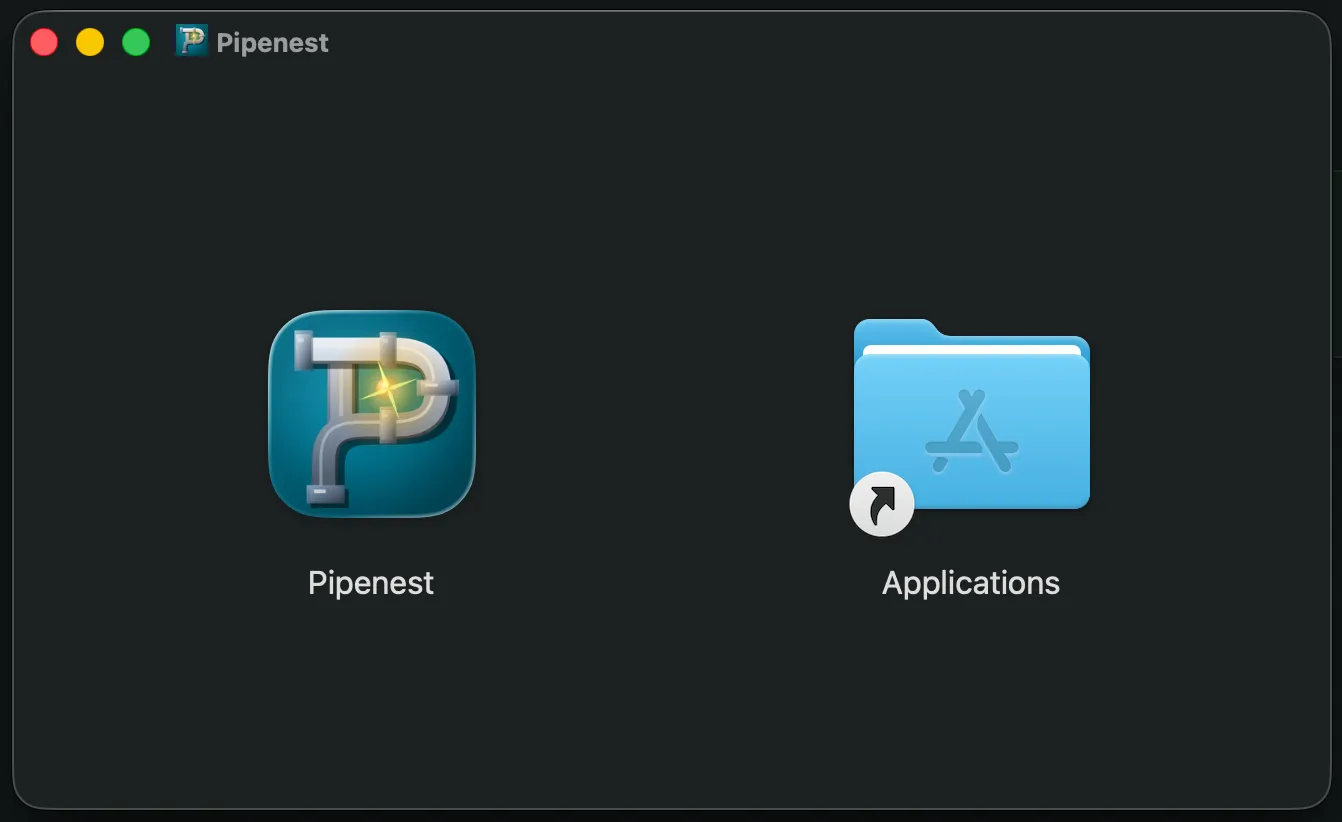
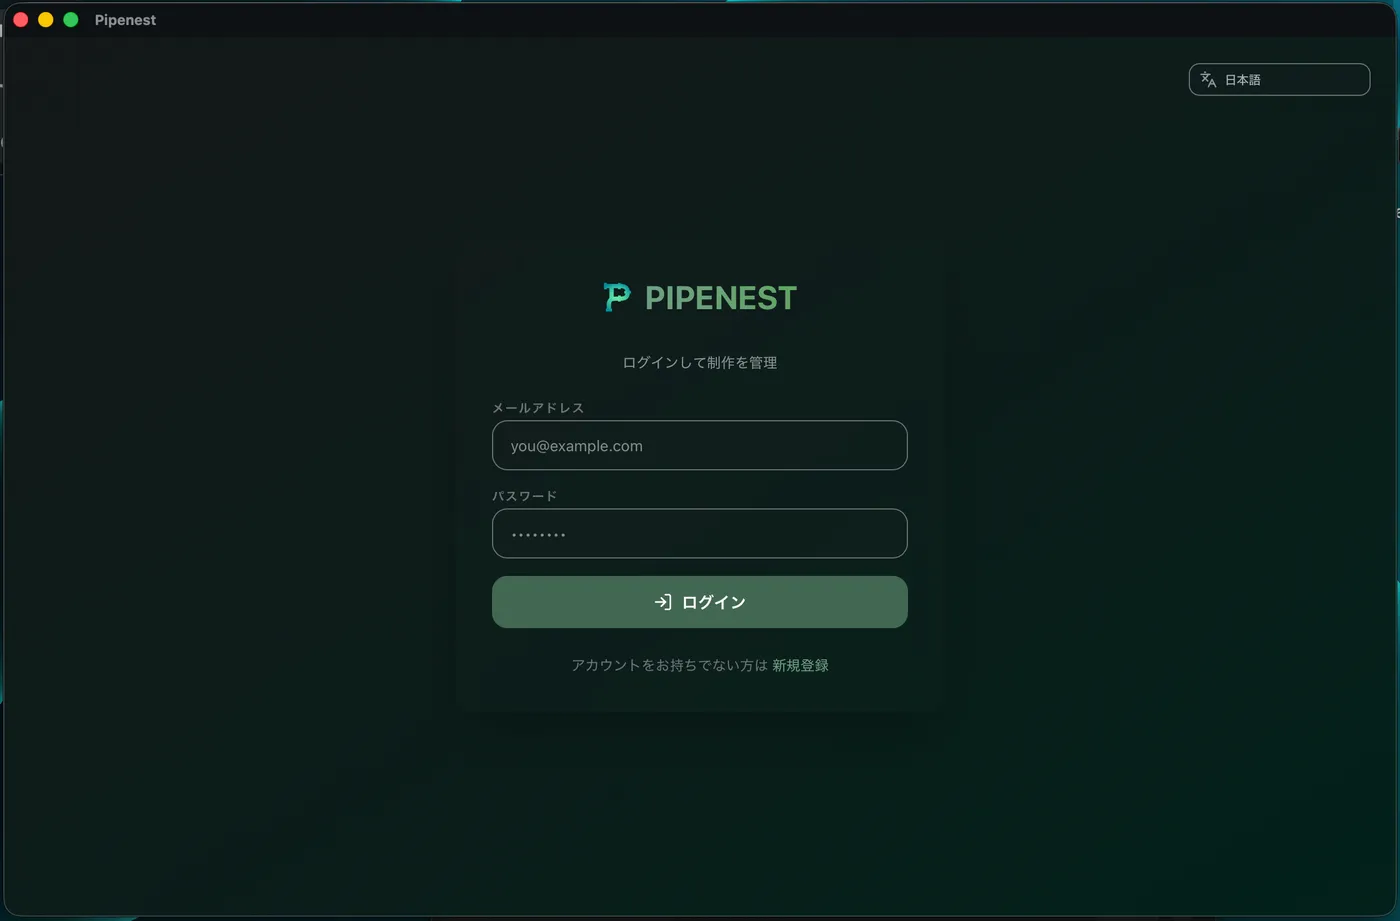
Noticing updates#
When a new version of the desktop app is released, a notice appears at the bottom left of the sidebar. Follow it to download and install the update.
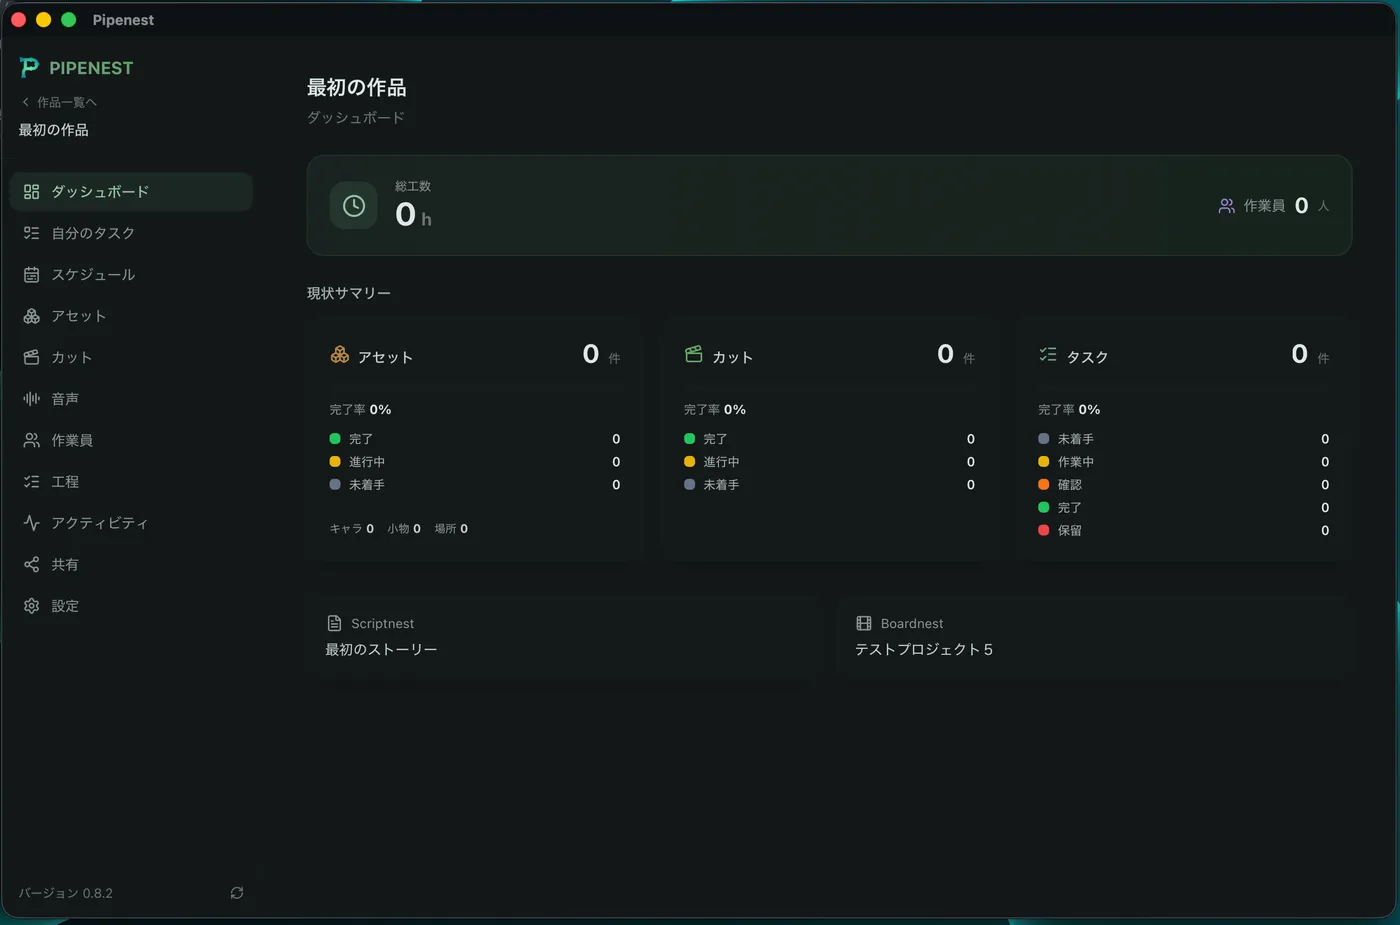
3Configuring the Local Environment and Steps
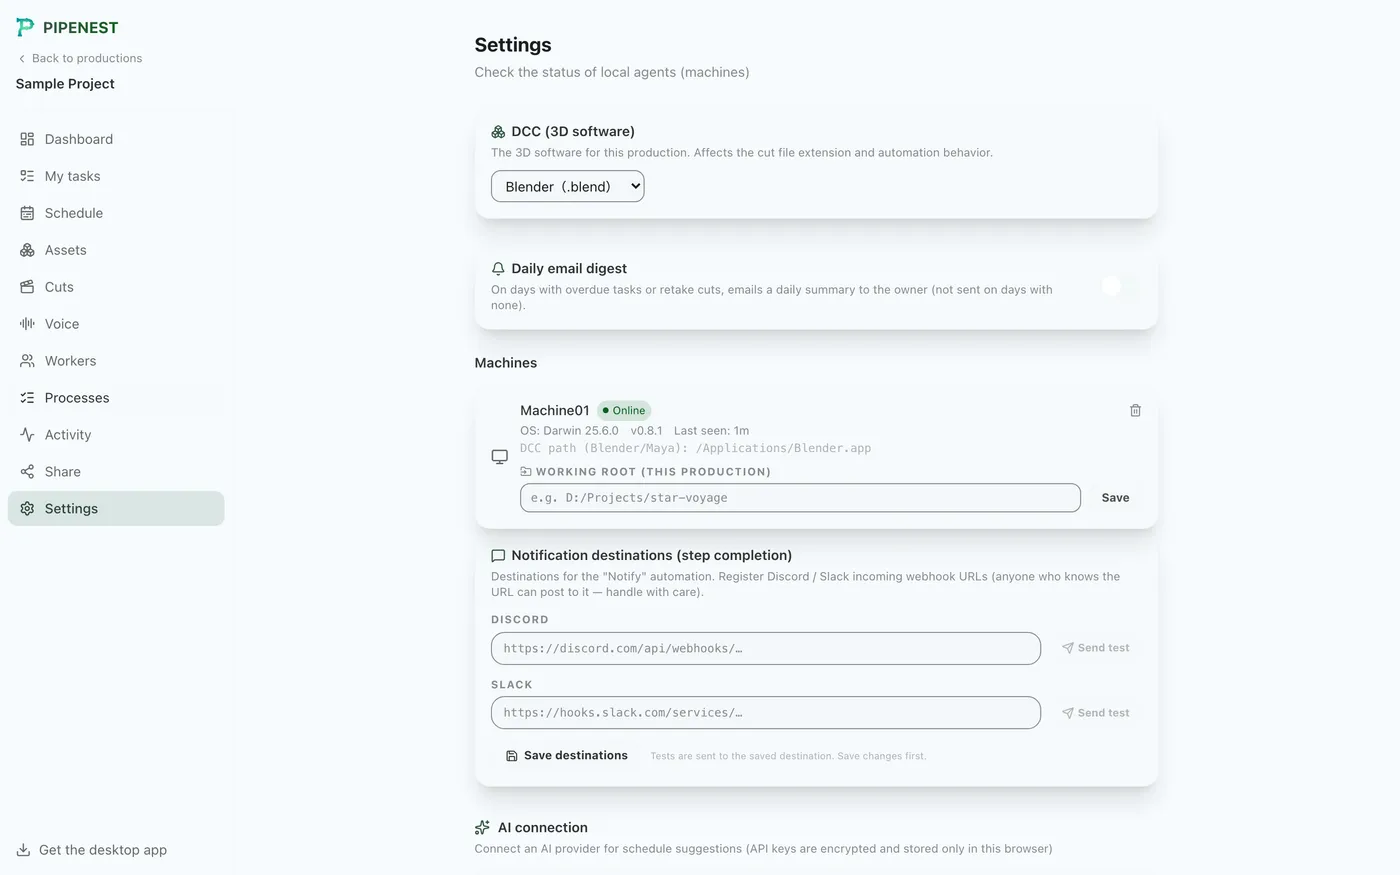
Register the PC running the desktop app as a “local agent,” and set the DCC tool (Blender/Maya) path plus where work folders live. Also define the steps and estimated hours for characters, props, locations, and cuts.
Checking settings
Opening the settings page#
Open the settings page for local-PC configuration from the “Settings” item in the sidebar.
Checking the local agent's status#
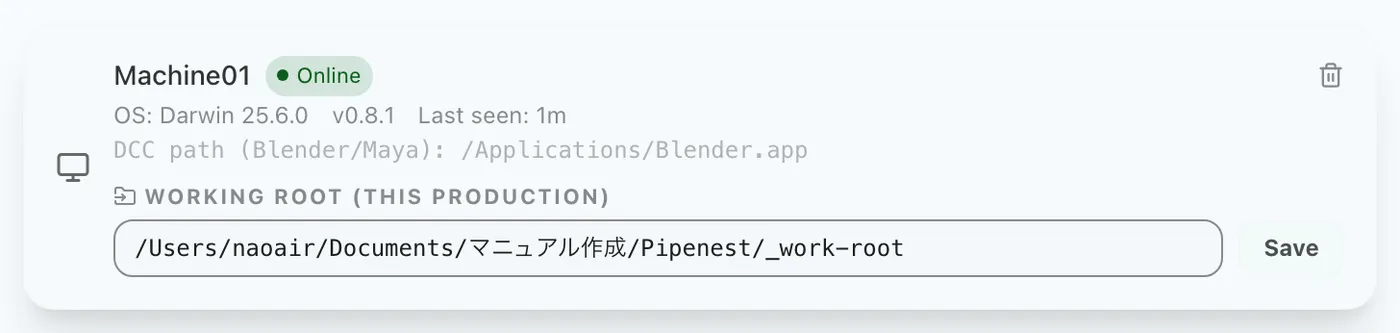
The PC running the desktop app is automatically registered as a “machine.” Here you can check its online status and DCC tool path, and set the working root (the path for this production's files).
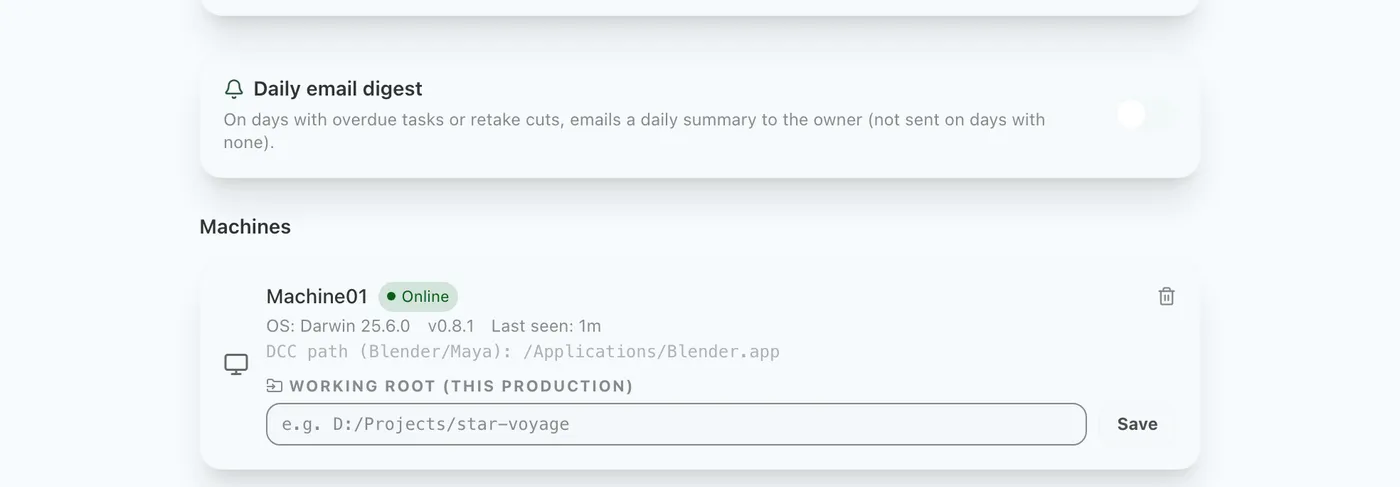
Deciding man-hours per step
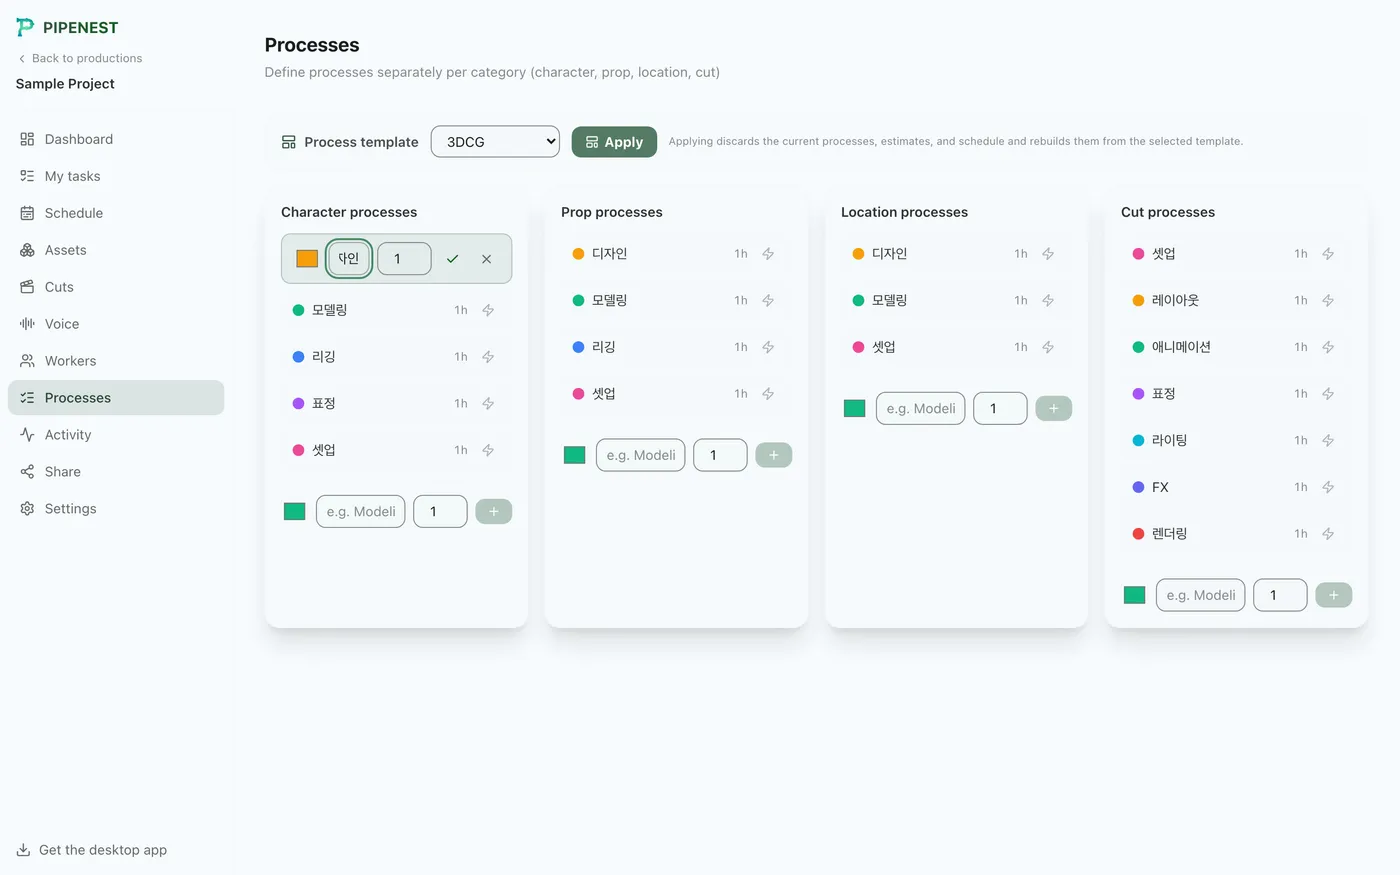
Checking man-hours on the processes page#
The “Processes” page defines steps separately for characters, props, locations, and cuts. You can also pick a process template (3DCG / Live Action / 2D Animation) to rebuild them all at once.
Editing a step's man-hours#
Click the pencil icon next to a step to edit its man-hours right there.
4Importing from Scriptnest and Boardnest
If you linked Scriptnest/Boardnest projects when creating the production, you can import their assets (characters, props, locations) and cuts as-is, complete with steps and man-hours.
Importing assets
Importing from Scriptnest#
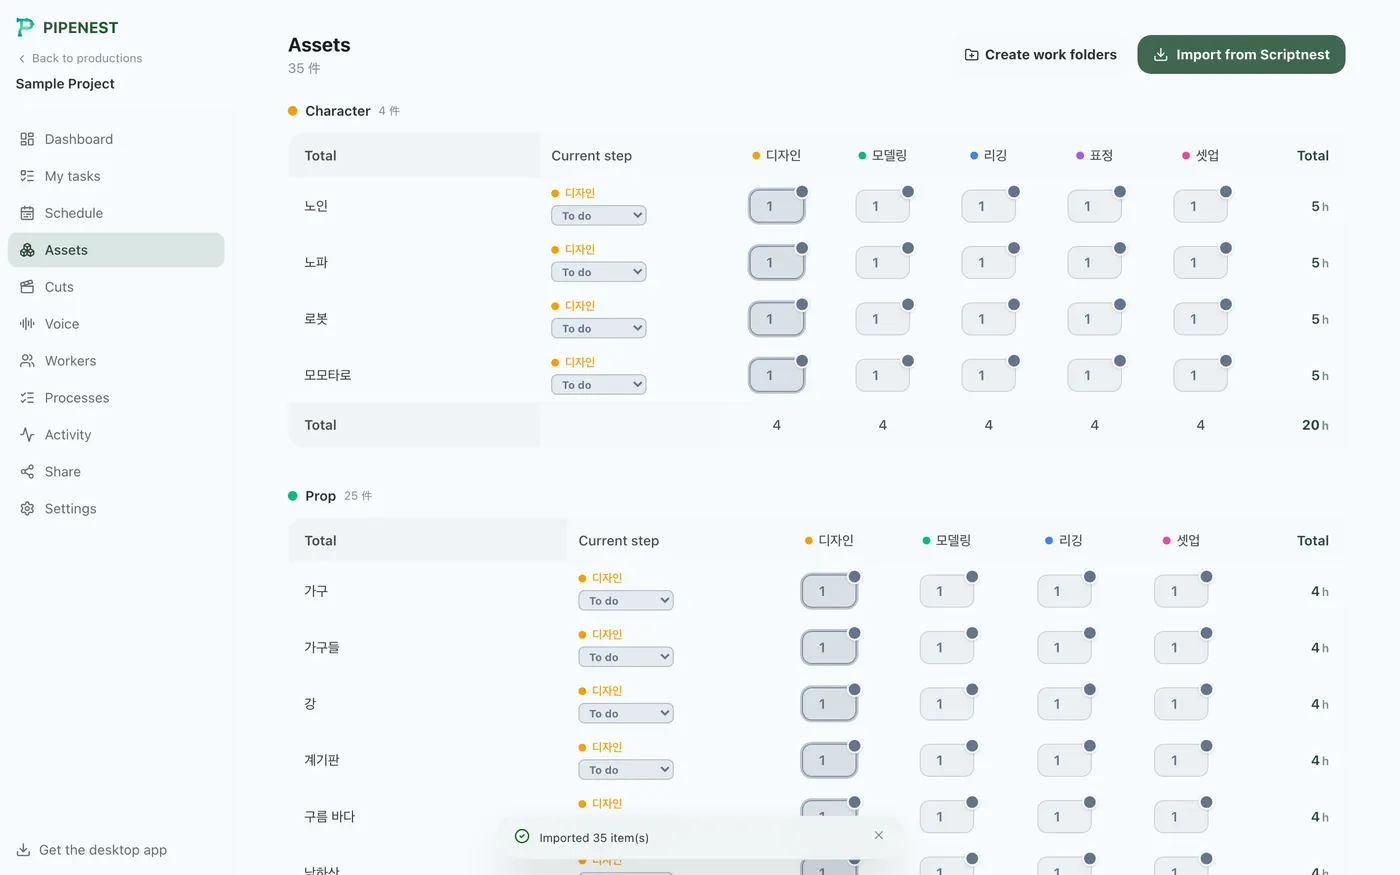
Click “Import from Scriptnest” on the Assets page to load the characters, props, and locations from the linked Scriptnest project.

Imported with man-hours#
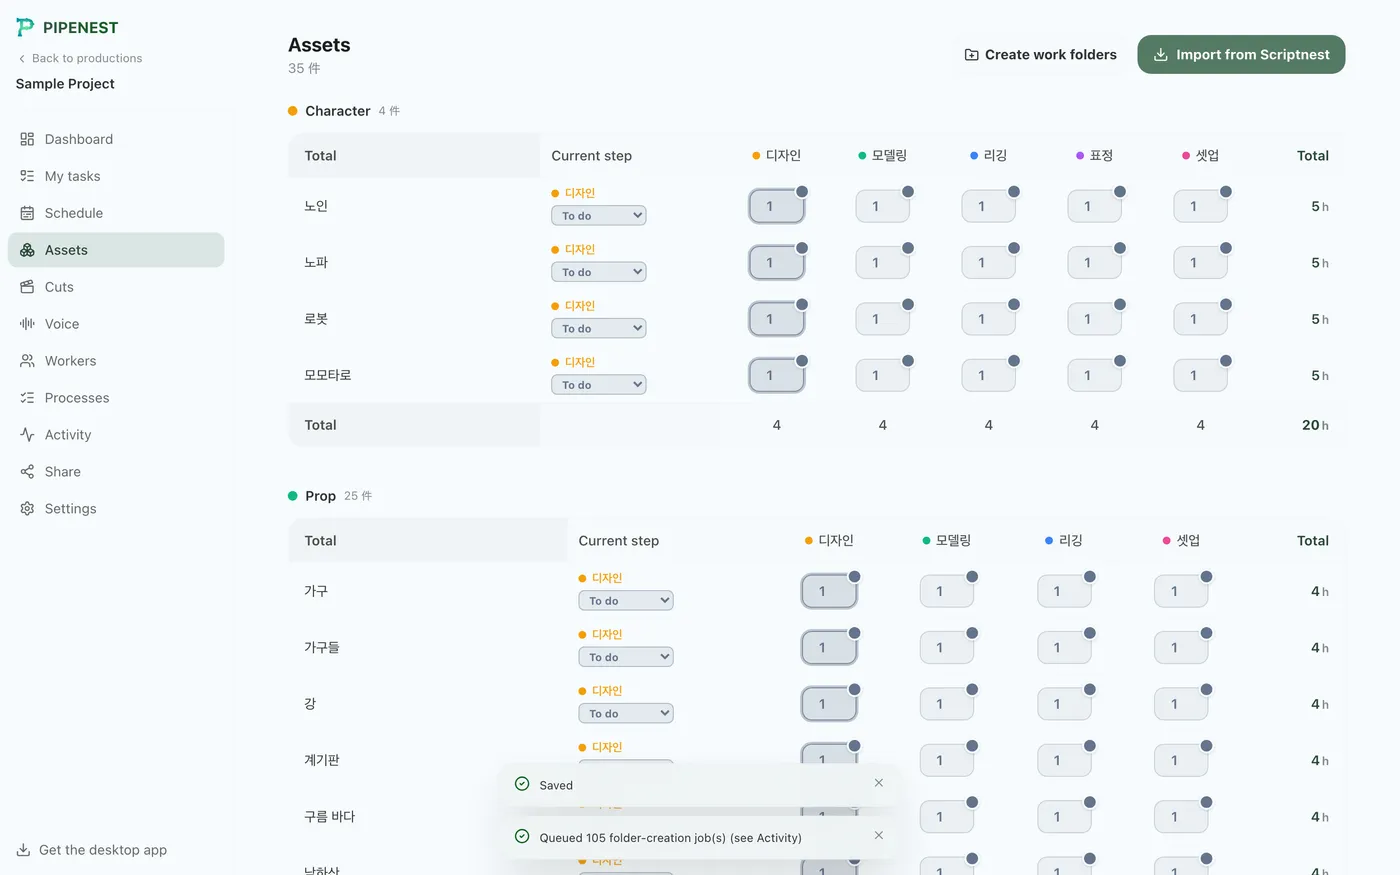
Imported assets automatically get the man-hours defined per step and type. You can also adjust hours for each asset individually.
Importing cuts
Importing from Boardnest#
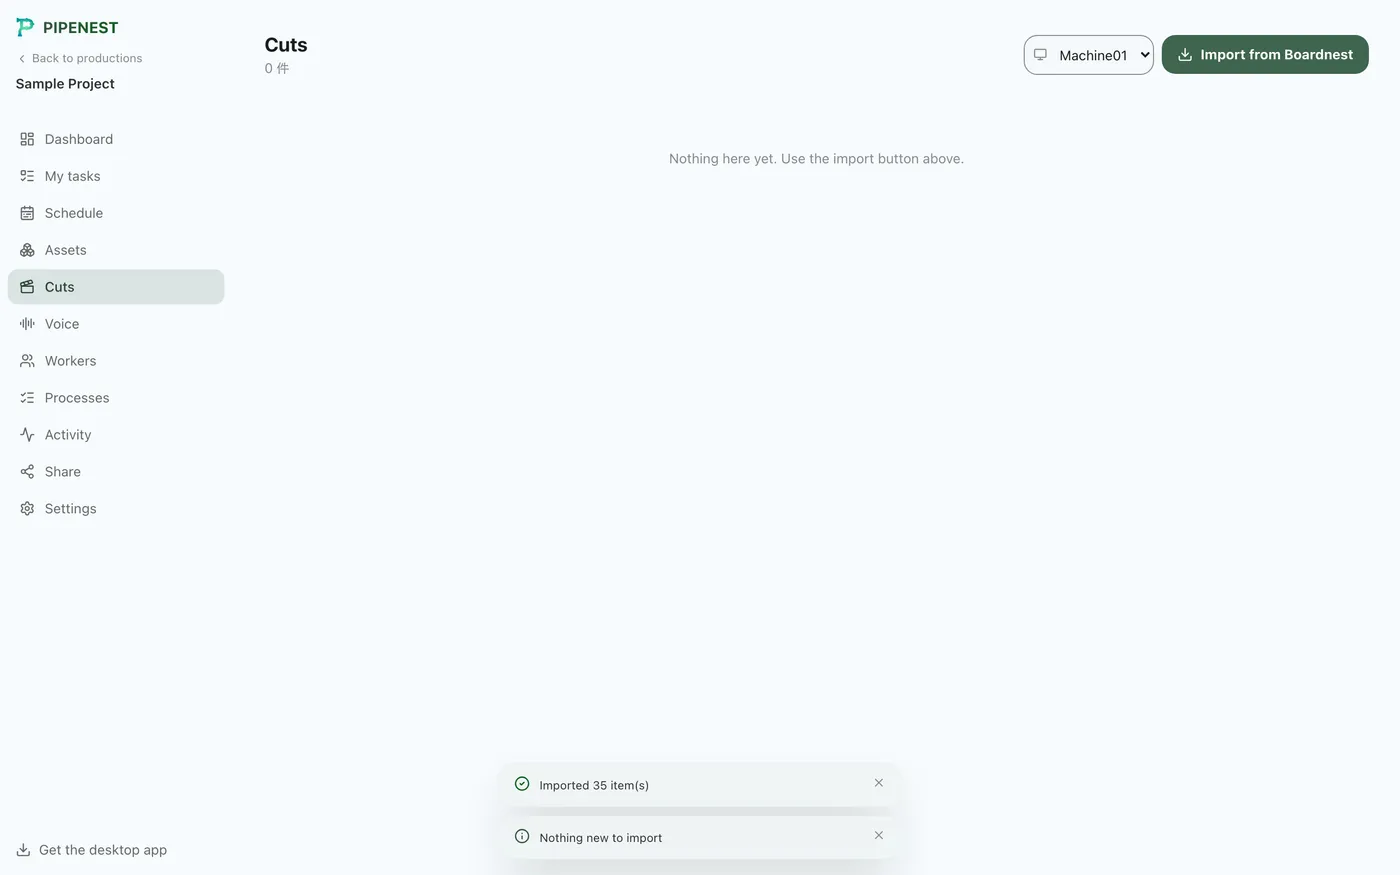
Click “Import from Boardnest” on the Cuts page to load every cut from the linked Boardnest project.

Cuts imported with man-hours#
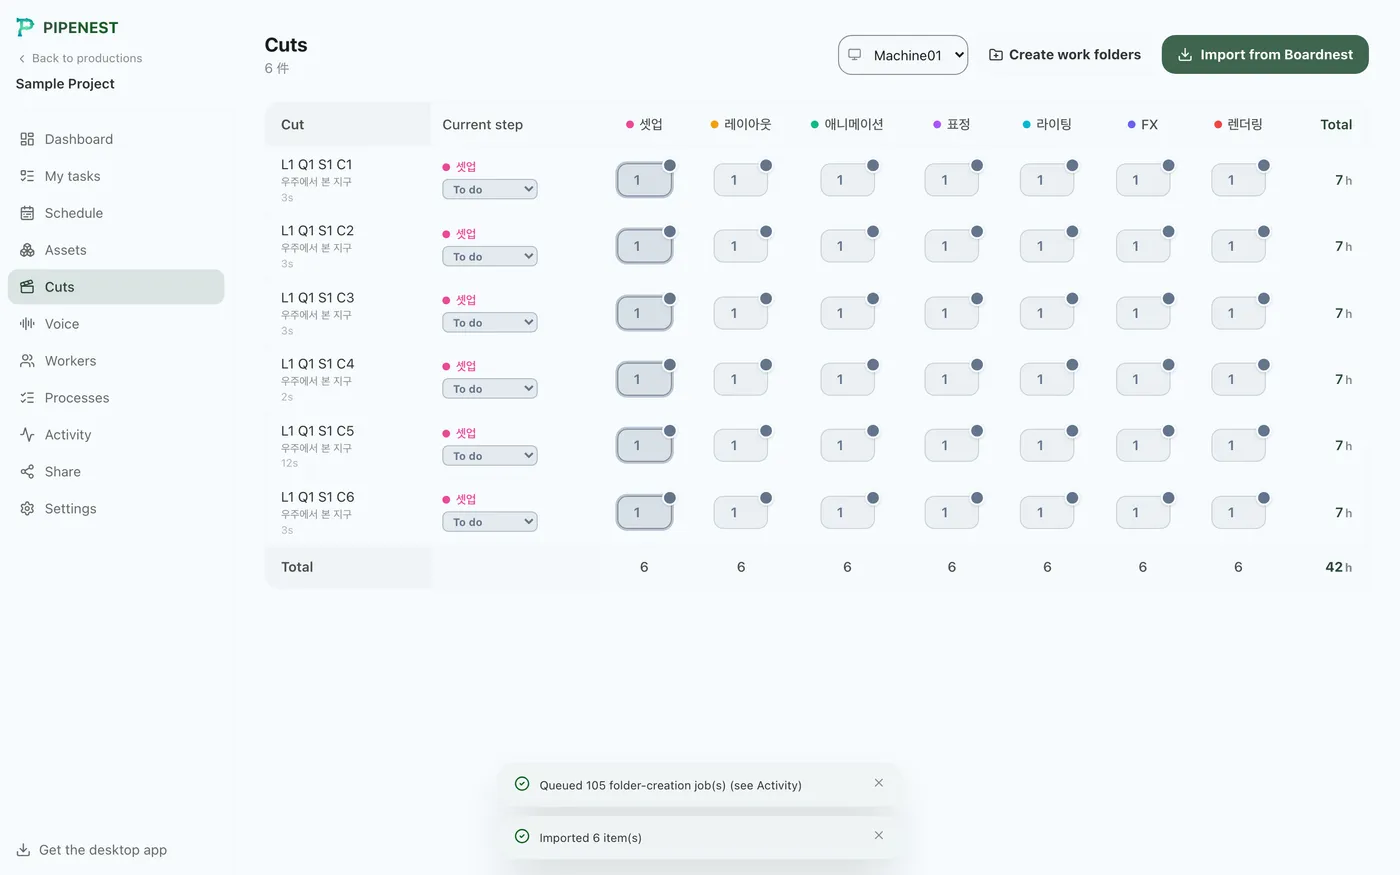
Imported cuts are listed with the man-hours set for each step. In the following chapters, you'll use these cuts and assets to build the schedule and work folders.
5Building a Schedule
Every imported asset/cut step starts out “unscheduled.” Register your workers, assign steps on the Gantt chart, and mark your deadlines.
Preparing tasks and workers
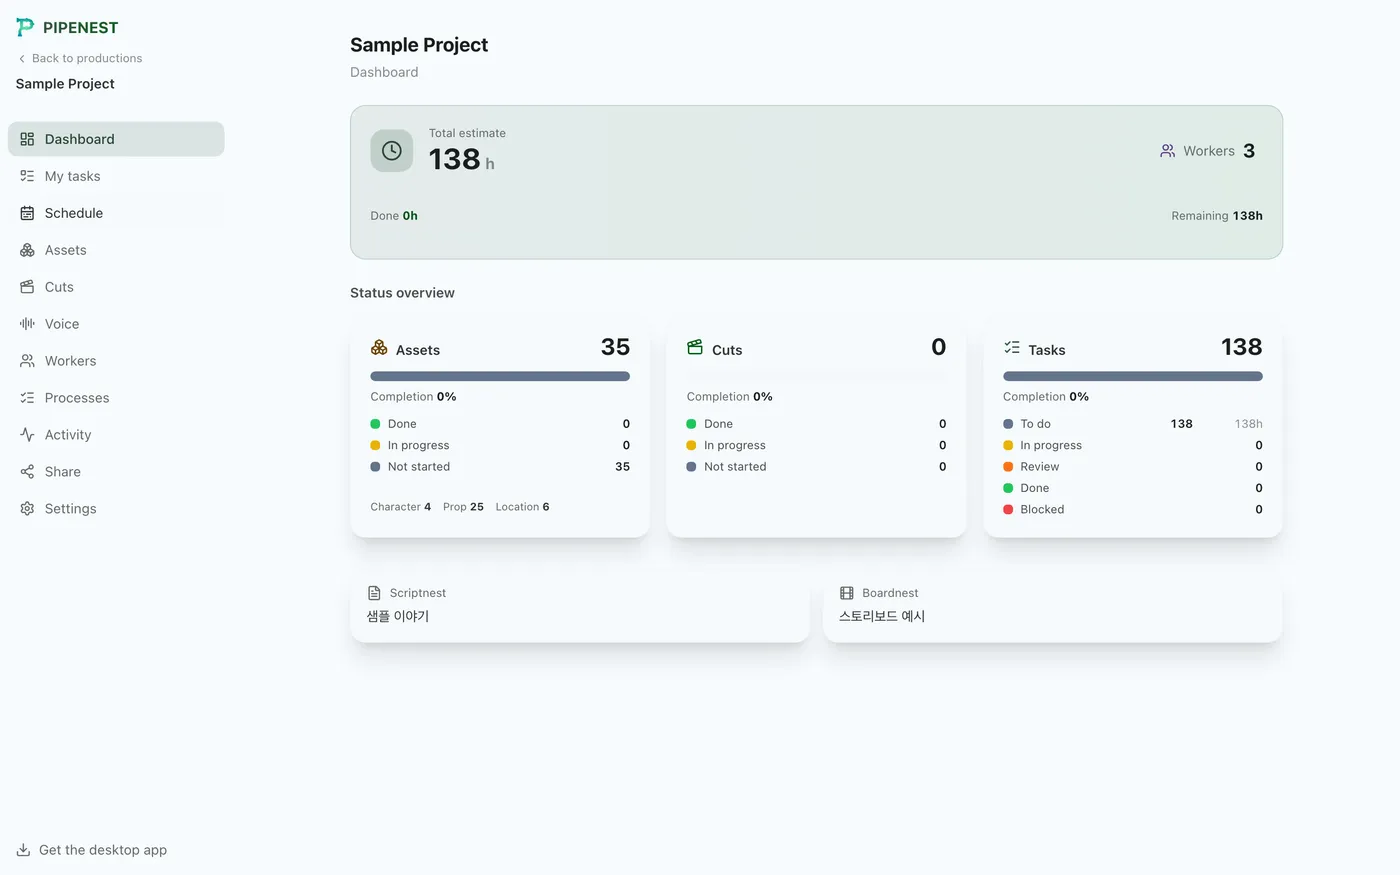
Viewing unscheduled tasks#
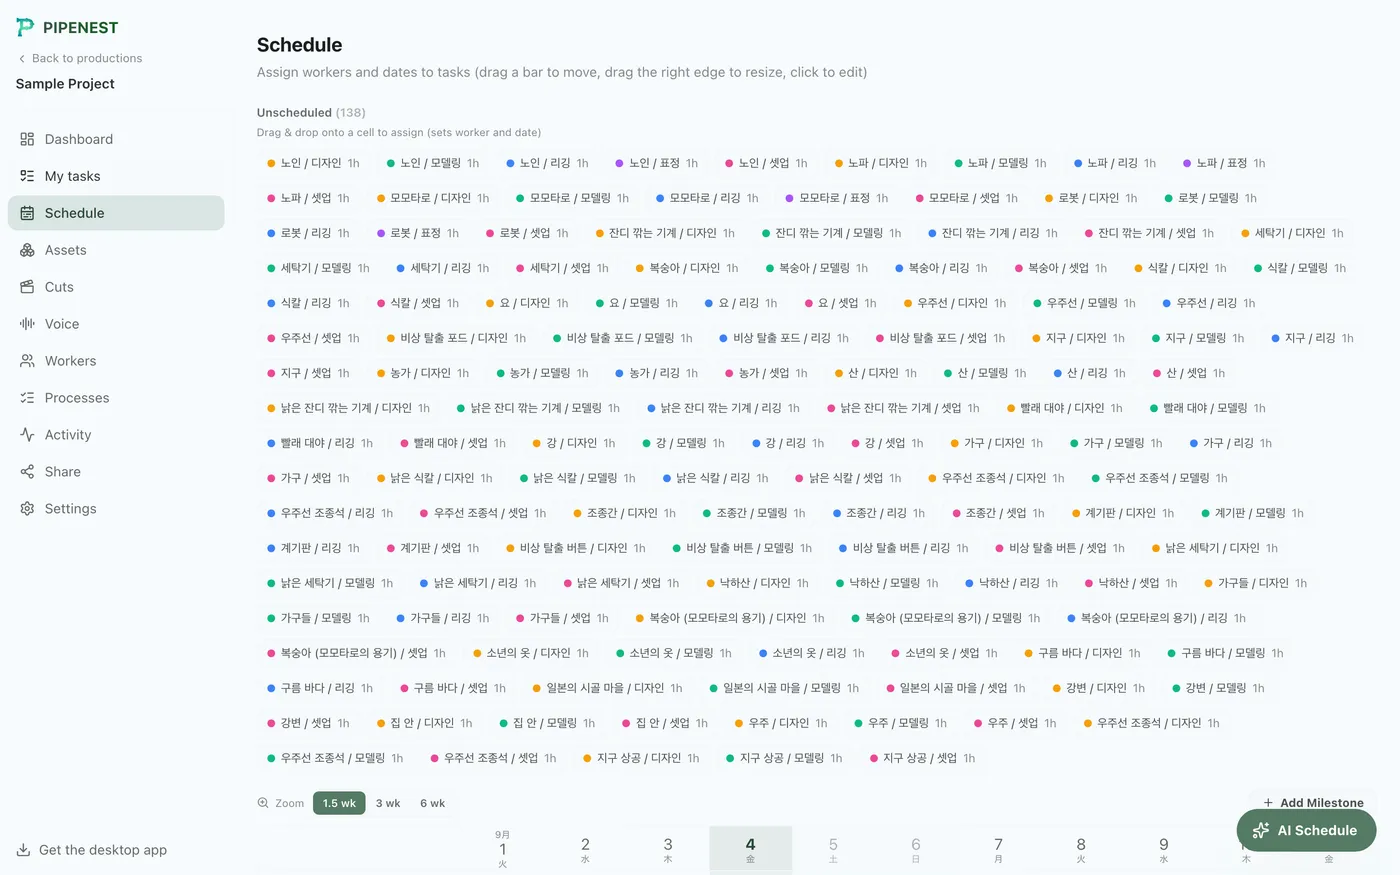
Open the Schedule page to see asset/cut steps listed as “unscheduled” tasks. You can also let AI suggest an assignment via “AI Schedule” at the bottom right.
Registering workers#
On the Workers page, register a name, role, and daily working hours. This is simple data with no login required, used as an assignment target in the schedule.
Assigning on the Gantt chart
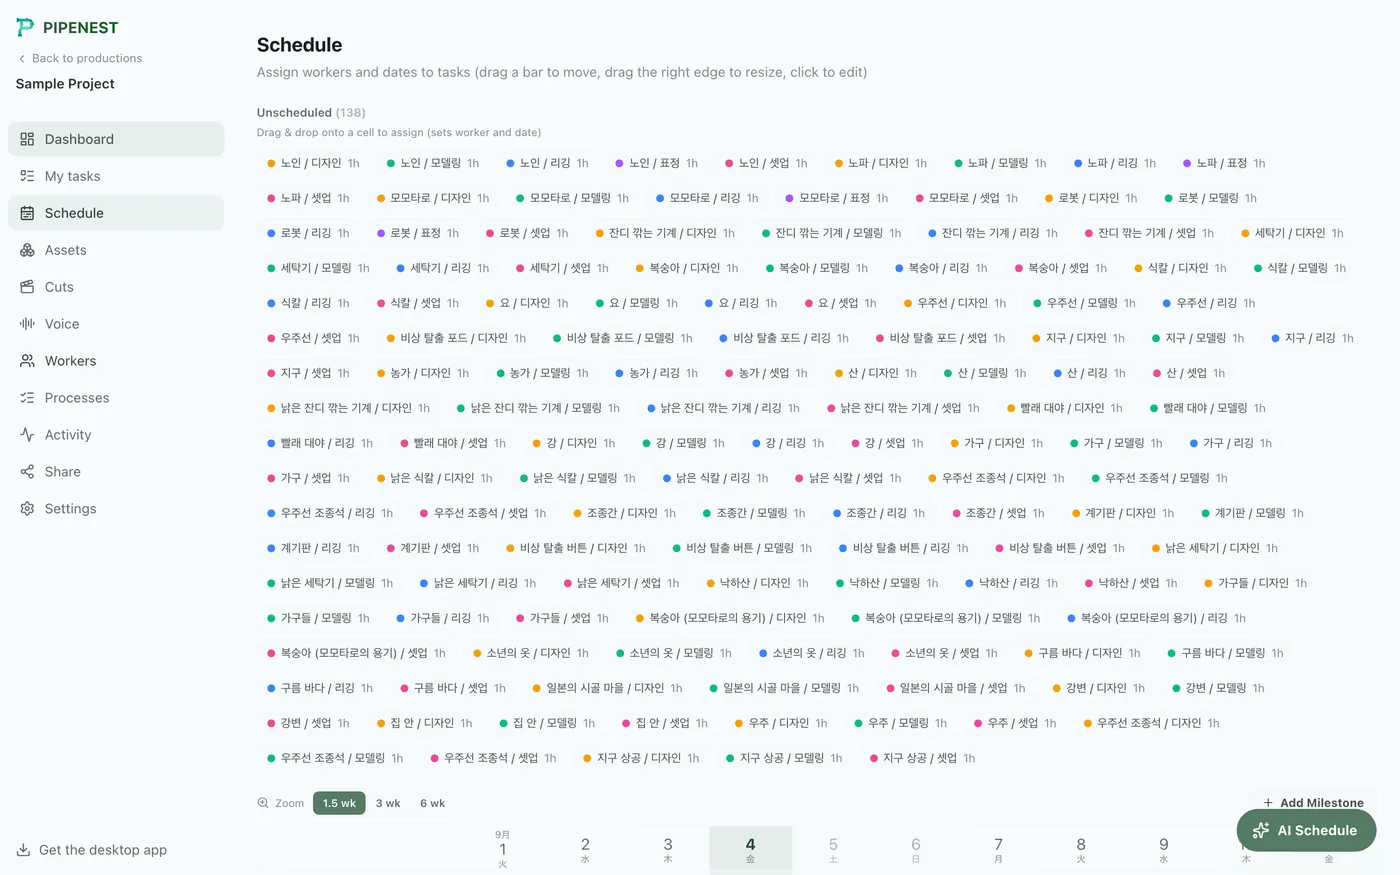
Assigning by drag and drop#
Simply drag an unscheduled task onto a worker/date cell in the Gantt chart to set both the assignee and the date.
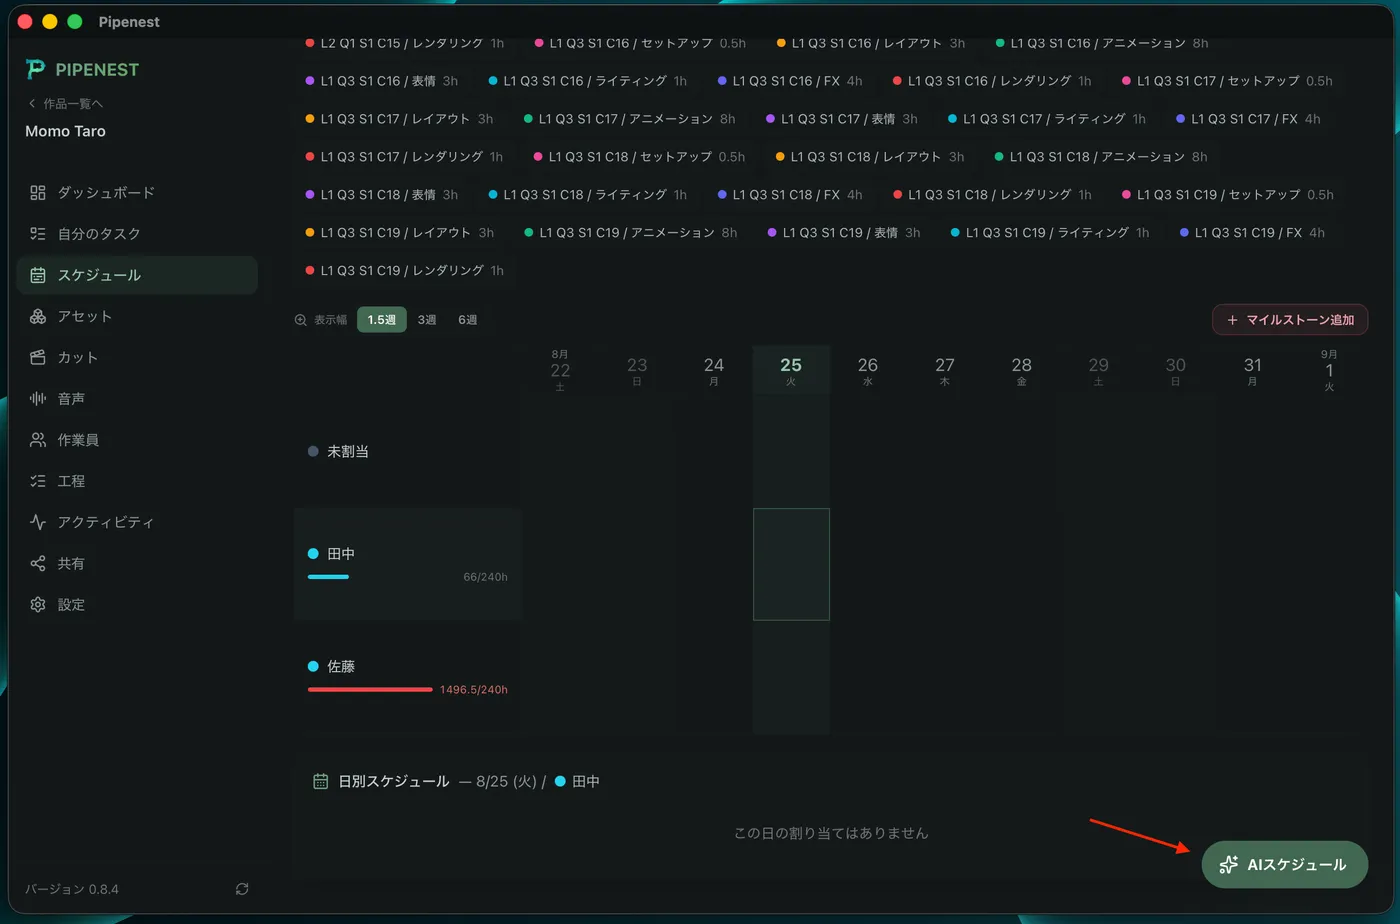
Assigning with natural-language instructions#
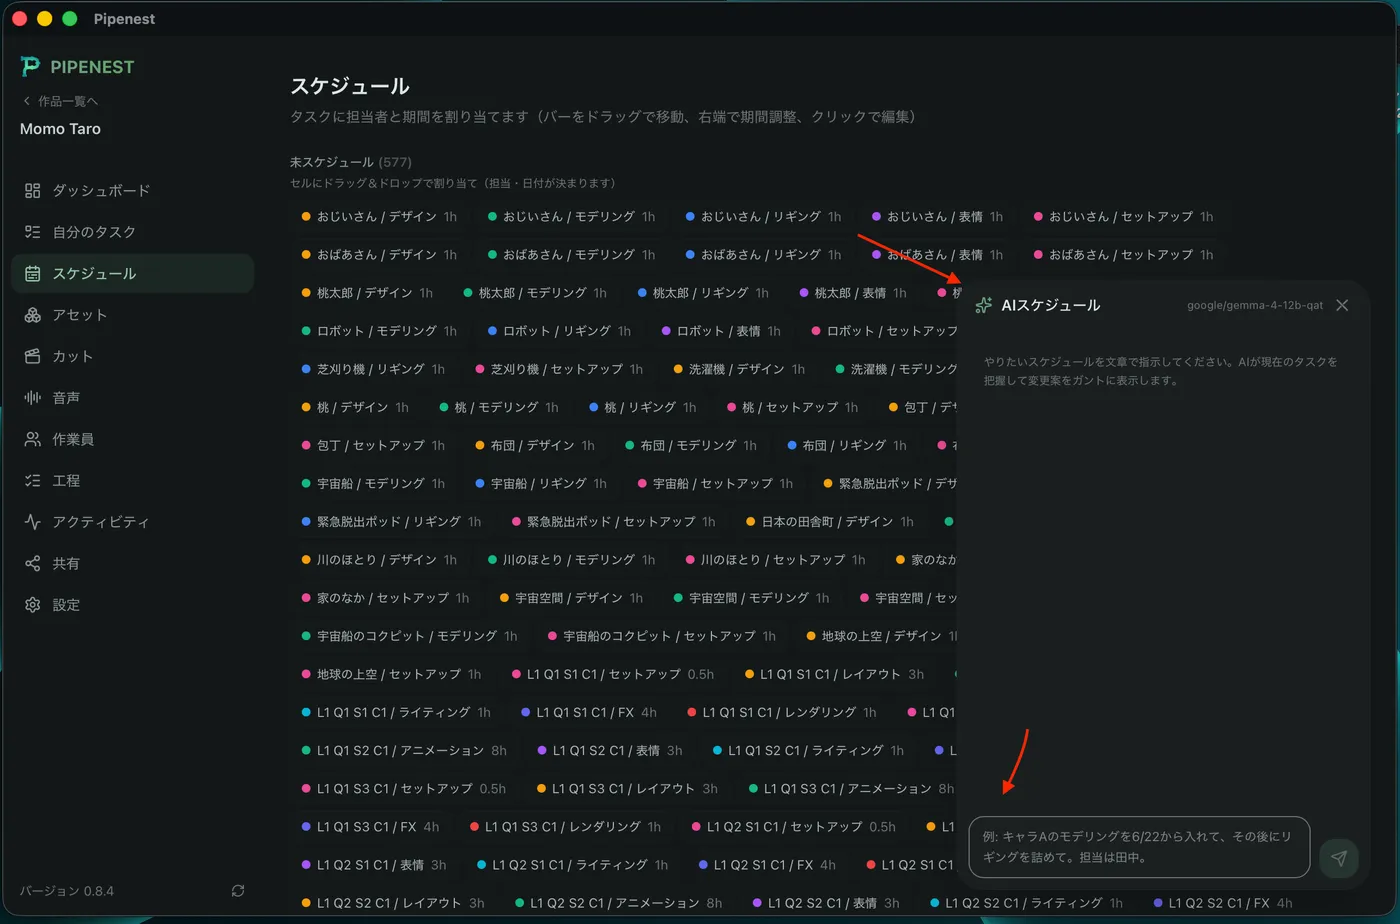
With an AI connection set up, just type a casual instruction like “pack Steve's modeling tasks into next week” into “AI Schedule,” and the AI drafts a schedule plan in chat form, based on the current tasks.
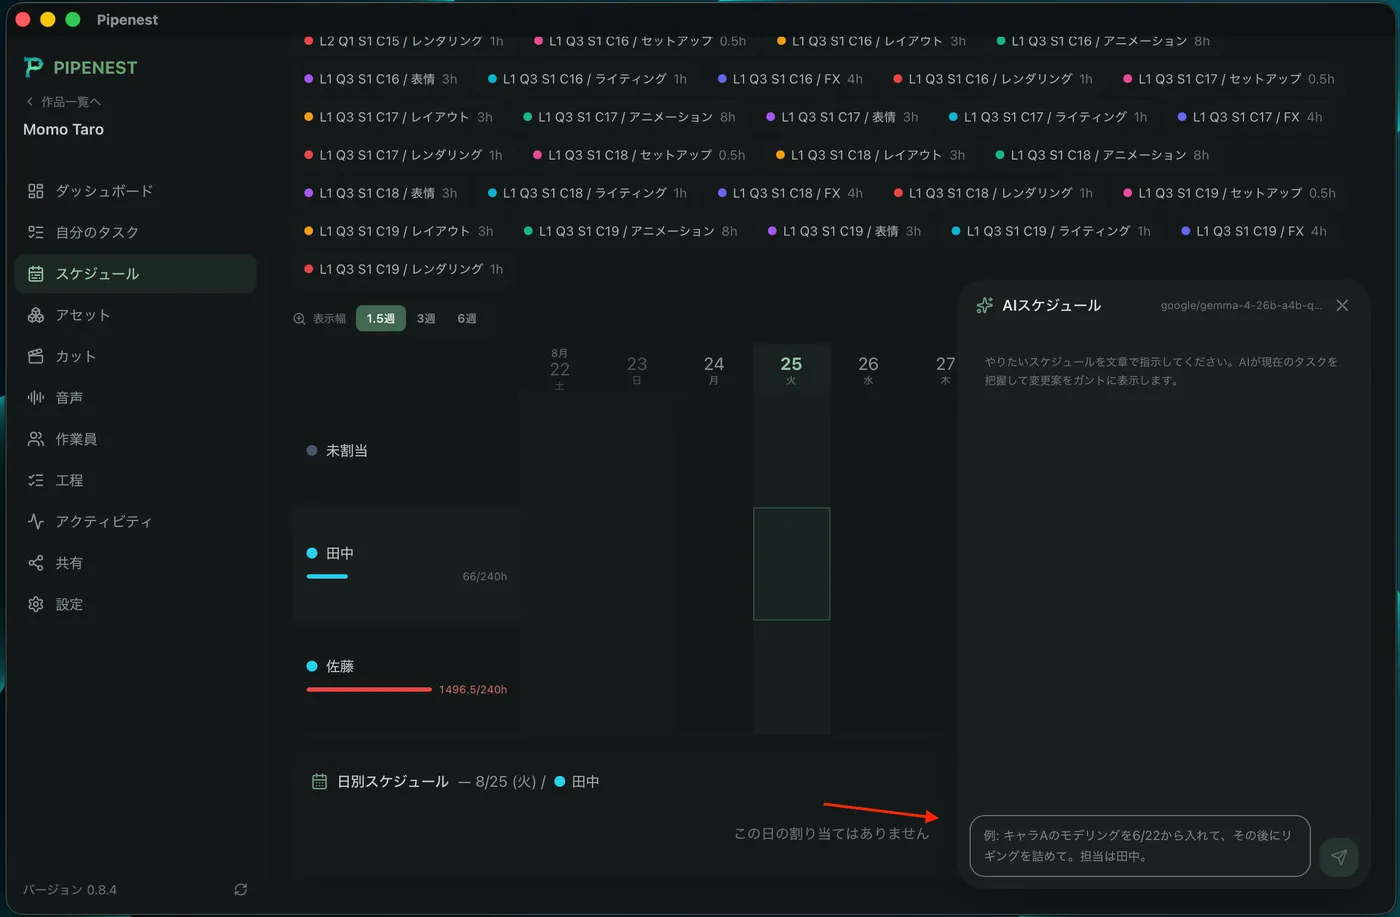
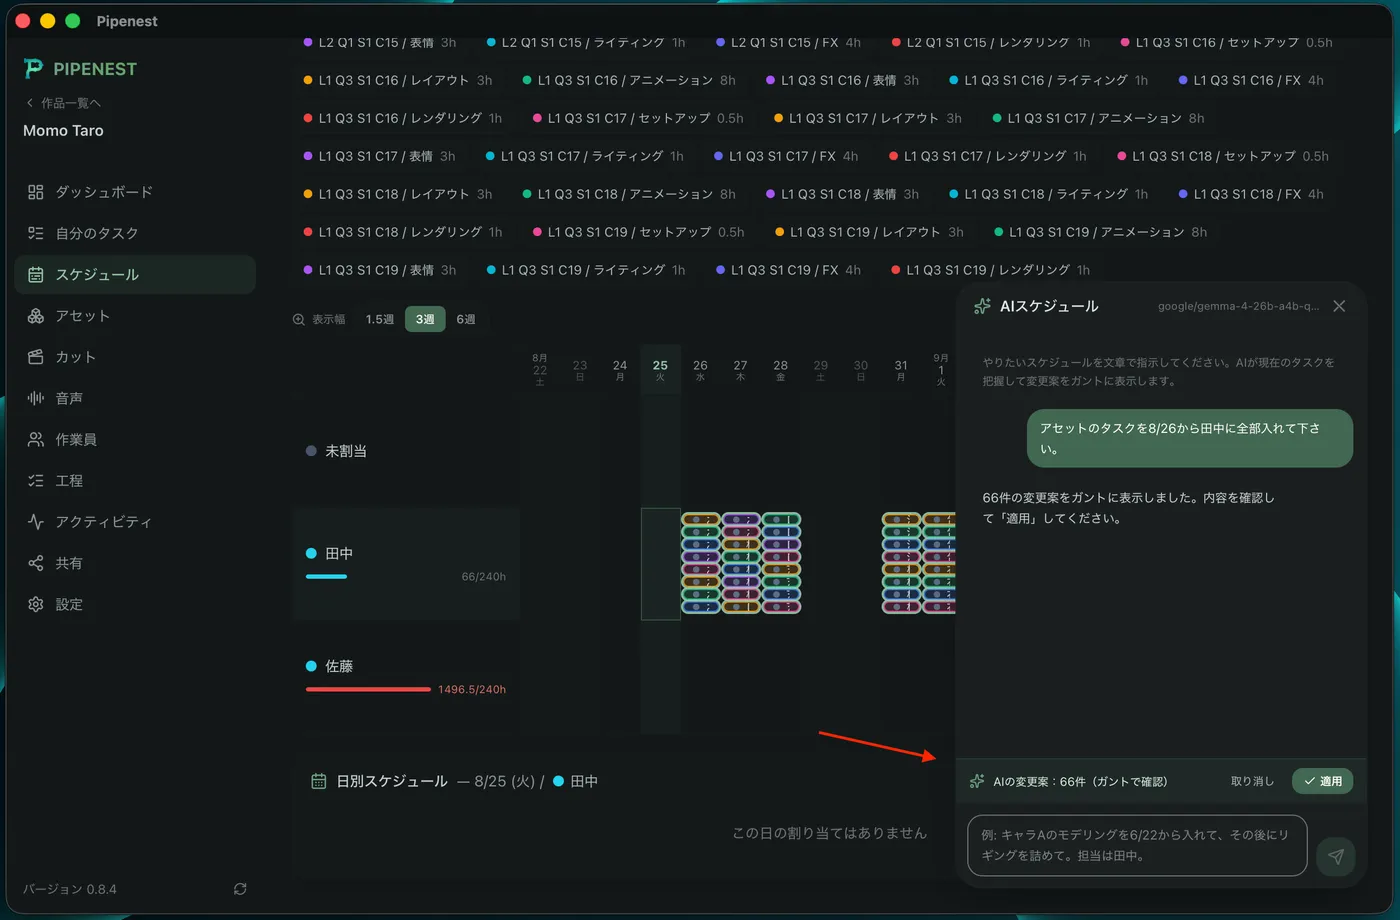
Reviewing the proposal before applying it#
Once the AI provisionally places tasks on the Gantt chart, the proposal appears in the chat. If it looks good, click “Apply” to confirm.
Marking deadlines and filtering by assignee
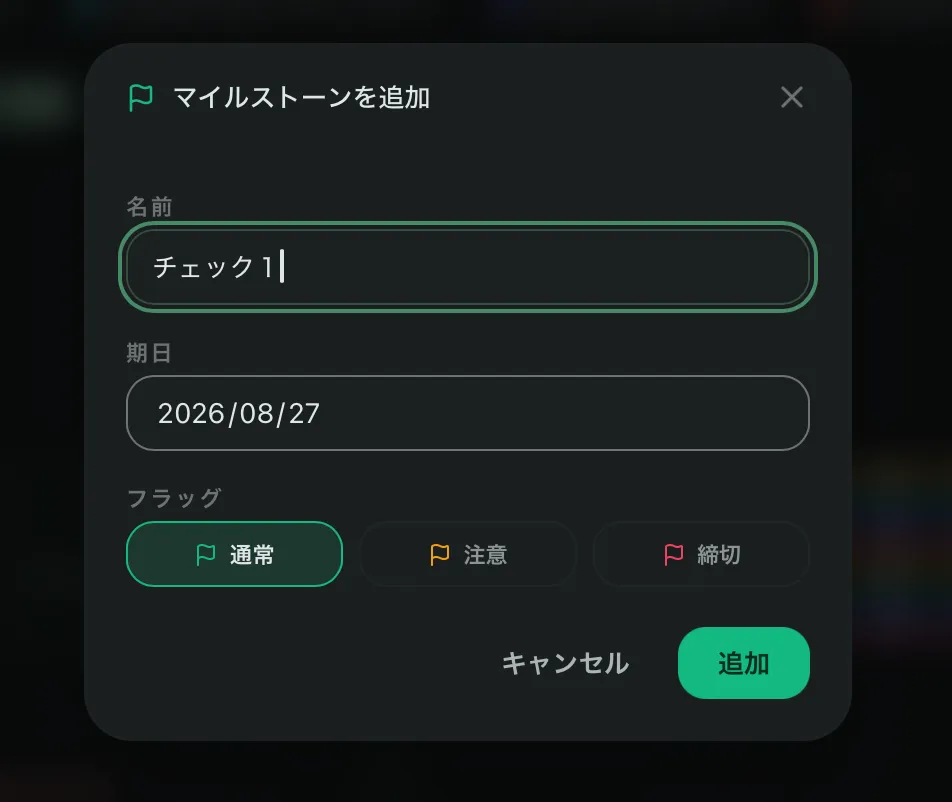
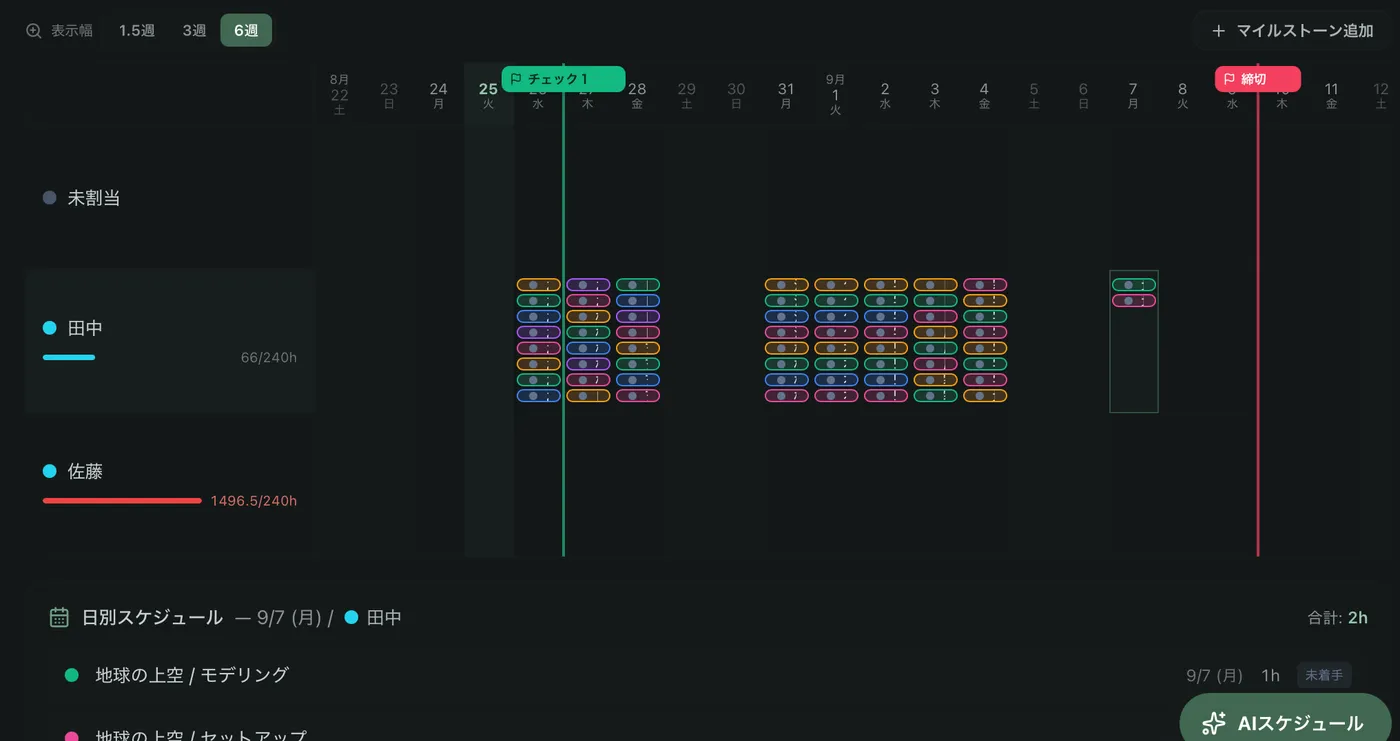
Setting a deadline as a milestone#
Set a date and label from “Add Milestone,” and a line appears on the Gantt chart. Add as many as you need — delivery dates, interim check-ins, and more.
Viewing only your own tasks#
Open “My Tasks” in the sidebar to see only the tasks assigned to you in that production. Each worker can use this to check their own workload.
6Creating Work Folders
Once you set the working root (the path for your project files), you can create standardized work folders on your local PC for assets and cuts alike, with one click.
Setting the working root
Setting the working root path#
In the “Machine” section of the settings page, enter the local-PC path where you want to save work data under “Working root (this production)” and save. Each production can use a different path.
Creating the folders
Creating work folders for assets#
Once the working root is set, the “Create work folders” button on the Assets page becomes usable. Clicking it opens a confirmation row to choose the agent PC; running it creates work folders (design, gen, work) per type/name for every asset on your local PC.

Creating work folders for cuts#
Running “Create work folders” on the Cuts page the same way creates work/render/cache folders per cut number on your local PC.

If you get stuck
Someone else may have run into the same thing. Ask questions or post requests in the community.